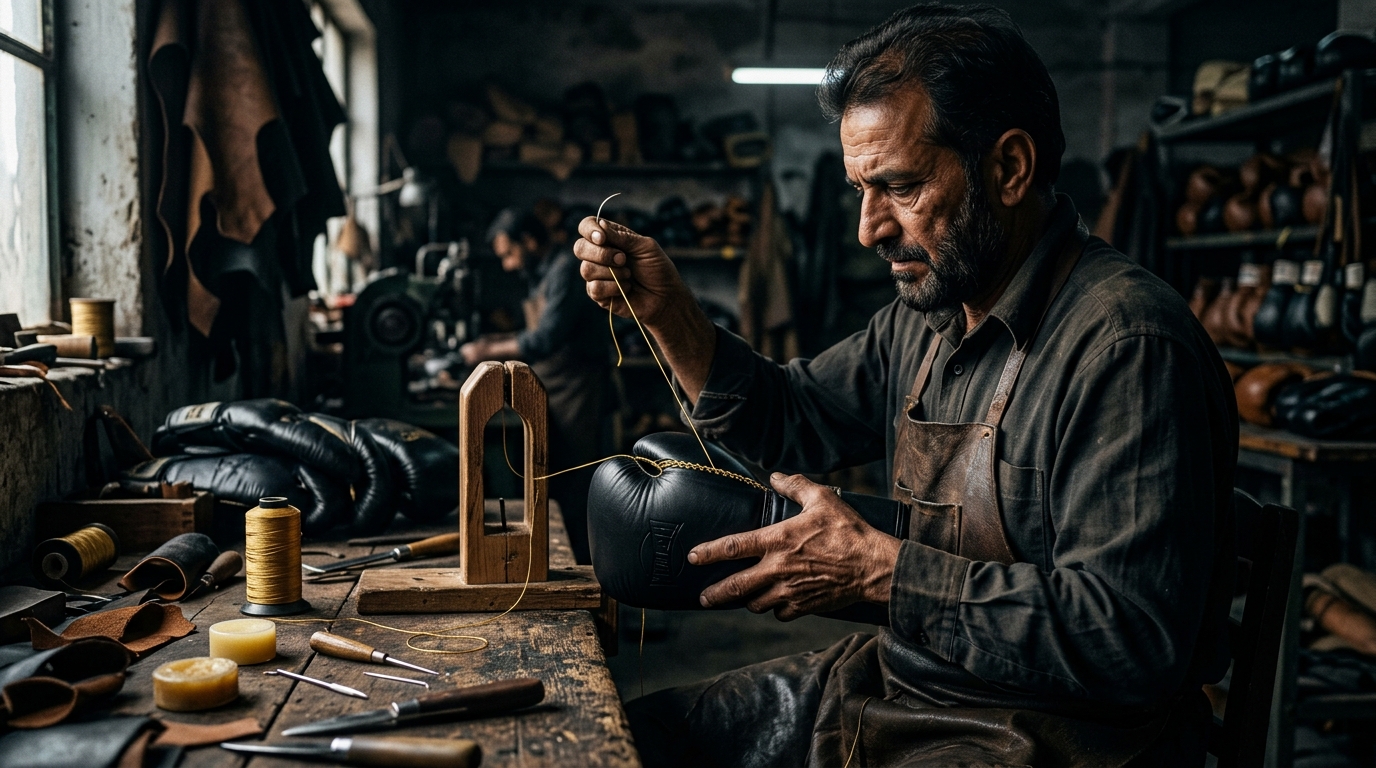
Why Private Label Fight Gear is a High-Growth Opportunity
The global combat sports equipment market is projected to exceed $650 million by 2028. Gyms, academies, fight brands, and online retailers are scrambling for custom, branded gear that reflects their identity — yet most of them don't know where to start when it comes to OEM manufacturing. That gap is exactly where a well-executed private label brand can dominate.
Sialkot, Pakistan — the world's fight gear manufacturing capital — produces over 70% of the global supply of boxing gloves, martial arts uniforms, and protective equipment. Working directly with a Sialkot OEM factory like Deer Fight Gear gives you access to factory-direct pricing, complete customization freedom, and production expertise refined over decades.
This guide walks you through every major step: product planning, material selection, sampling, branding, quality control, packaging, and export logistics.
Step 1 — Define Your Product Line Before You Sample
The biggest mistake new fight gear brands make is jumping straight to sampling without defining a coherent product roadmap. Before you request your first sample, answer these questions:
- Which disciplines are you targeting? Boxing, MMA, Muay Thai, BJJ, karate, judo, taekwondo — each has different gear requirements, sizing conventions, and customer expectations.
- What is your retail price range? Premium, mid-market, or budget positioning determines which materials and construction methods are viable.
- What is your first-order quantity? Most Sialkot factories have MOQs between 50–200 units per SKU depending on complexity. Knowing your budget early prevents disappointment.
- Who is your customer? Professional fighters, gym members, casual fitness consumers, kids — different segments have very different requirements around fit, safety, and aesthetics.
Once you have clear answers, create a product matrix listing every item in your intended catalog: boxing gloves, MMA shorts, rash guards, shin guards, head guards, karate suits, belts, wraps, and any accessories. This matrix becomes your briefing document to the factory.
Step 2 — Choose Your Materials Wisely
Material selection is the single biggest driver of product quality, durability, and manufacturing cost. Here's what you need to know about the most common materials used in fight gear:
Boxing Gloves
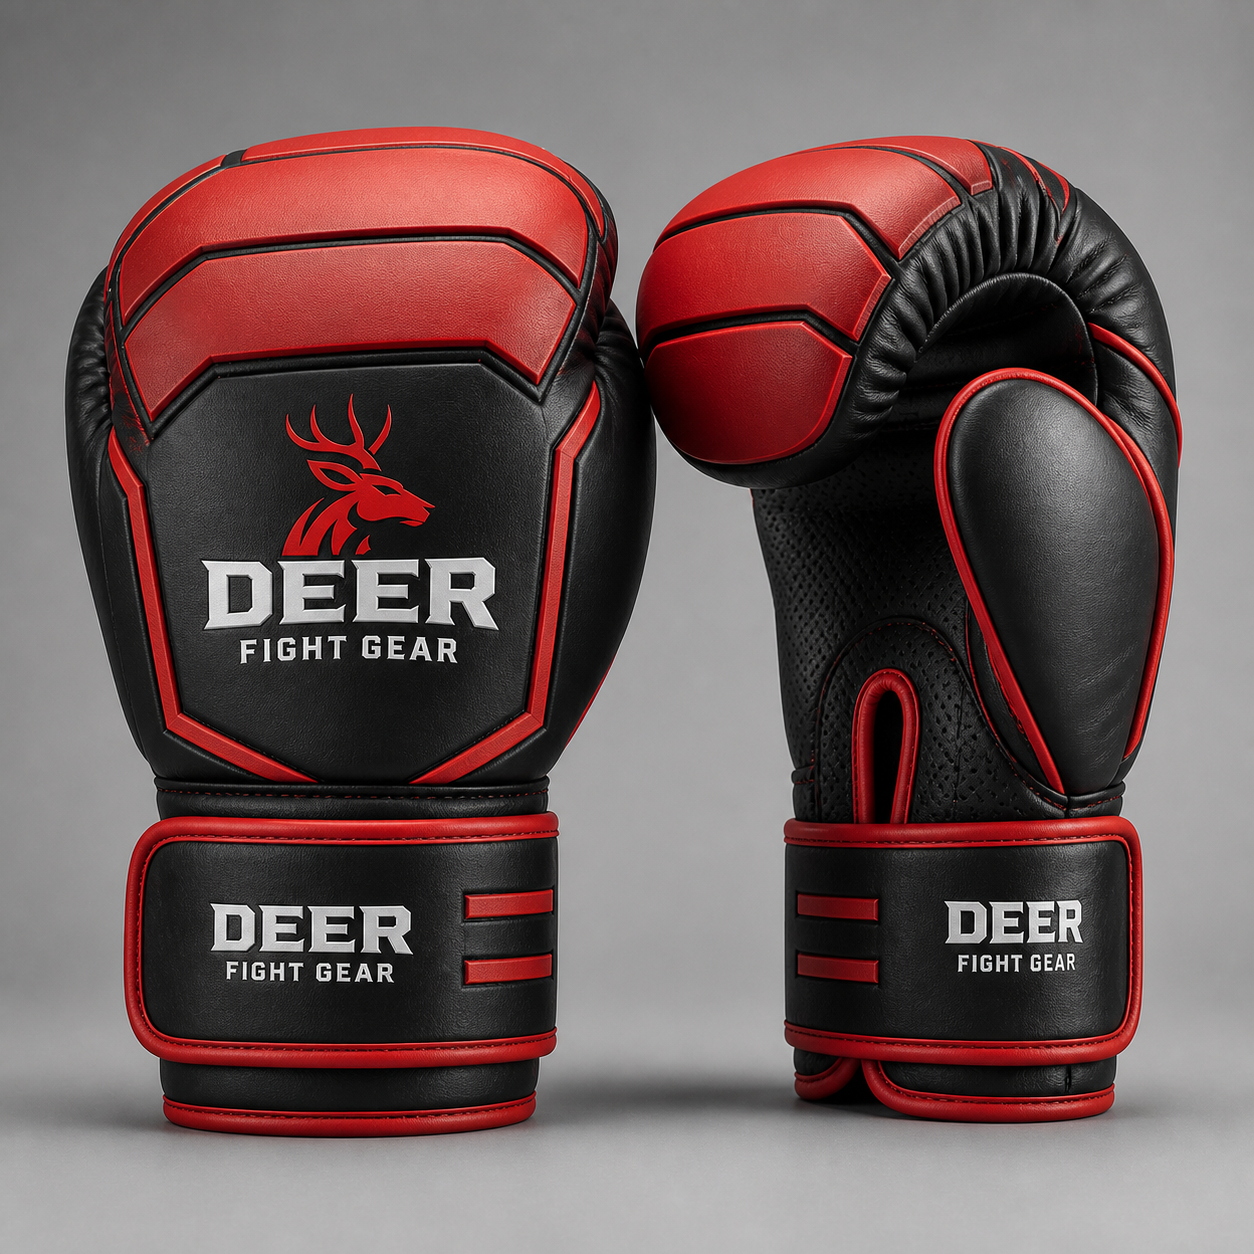
Cowhide leather remains the gold standard for premium boxing gloves. It breathes well, develops character over time, and can withstand years of heavy training when properly maintained. Microfiber (synthetic leather) offers near-identical visual aesthetics at a lower cost point — ideal for entry-to-mid-market positioning. PU (polyurethane) is the most affordable option, works well for beginner gear and children's ranges, but lacks the durability of higher-end materials.
For foam construction, multi-layer EVA and PU foam combinations are the industry standard. Some premium gloves use memory foam for personalized fit. Triple-density foam layouts offer superior knuckle protection for sparring. Always specify your padding configuration in your technical brief.
Martial Arts Uniforms
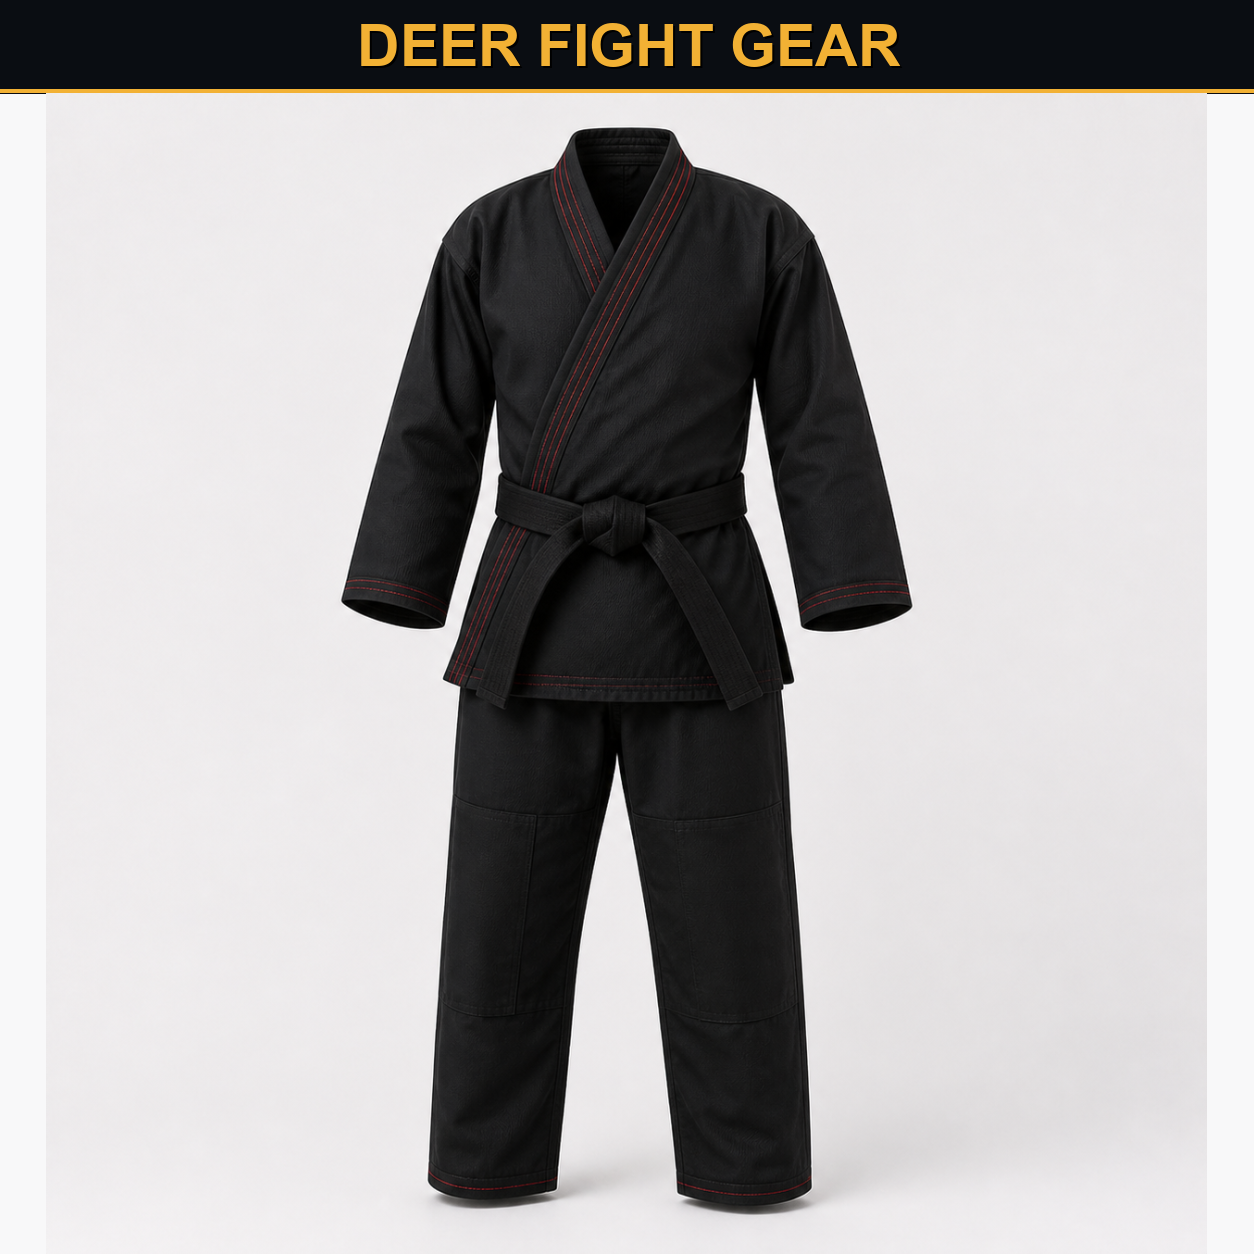
For karate gis, fabric weight matters enormously. Lightweight 8 oz cotton-poly blends work well for kata practitioners and beginners. Heavier 12–16 oz single or double-weave fabrics suit competitive karatekas and provide the satisfying snap during techniques. Judo suits require even heavier, tighter-woven fabrics — typically 550–750 GSM with reinforced collar stitching to withstand grip training.
MMA & Compression Gear
MMA shorts typically use 100% polyester or polyester-spandex blends with stretch panels for maximum mobility. Rash guards require premium 4-way stretch polyester with flatlock seaming to prevent skin irritation during ground work. Always request fabric testing certificates for colorfastness and shrinkage.
Step 3 — Creating Your Brand Brief and Tech Pack
A tech pack is your blueprint — it communicates everything the factory needs to produce your product without guesswork. A complete tech pack includes:
- Product sketches or reference photos from all angles
- Color palette with Pantone references (avoid describing colors as "red" or "blue" — factory dye interpretation can vary significantly)
- Logo artwork in vector format (AI or EPS) at full size with placement dimensions
- Label specifications: woven brand label, care label, size label placement and content
- Embroidery specifications: thread count, stitch density, color codes, backing material
- Hardware specifications: closure type (velcro, lace, hook), snap dimensions, zipper brand/grade
- Size chart with garment measurements — don't just specify S/M/L, provide chest, waist, inseam, and wrist circumference measurements
Step 4 — The Sampling Process
Never skip the physical sample stage, no matter how tight your timeline. A factory sample serves multiple critical purposes: it confirms your material selections translate correctly, verifies color accuracy, identifies fit issues, and lets you test durability before committing to bulk production.
Request a full-size pre-production sample (PP sample) for each SKU. Review it against your tech pack systematically — check seam strength with a pull test, confirm logo placement with a measuring tape, test closure mechanisms repeatedly, and wear or use the product in realistic conditions. Document every revision clearly in writing with annotated photos.
Budget 2–4 revision rounds per SKU for a new factory relationship. Experienced OEM partners like Deer Fight Gear streamline this process significantly by catching issues at the pattern-making stage before fabric is cut.
Step 5 — Quality Control and Production Management
Quality control is not a post-production activity — it's an ongoing process woven throughout manufacturing. Your QC framework should include:
- In-process inspection: Verify materials match approved samples before cutting, check stitching quality during assembly, confirm embroidery color accuracy as the first units come off the embroidery machines.
- Mid-production audit: When 25–30% of the order is complete, inspect a statistical sample. This catches systematic errors early when they're cheapest to fix.
- Final random inspection (FRI): Before packing, inspect a random sample per AQL 2.5 standard. Check measurements against the approved size chart, verify branding accuracy, and test functional components.
Step 6 — Export Packaging and Logistics
Export-ready packaging dramatically reduces headaches at destination. Work with your factory to specify: individual poly bag dimensions and thickness, hang tag design and attachment method, barcode placement and format (UPC, EAN), master carton dimensions and weight, and carton marking requirements for your destination country's customs.
For shipping, decide between air freight (faster, more expensive, ideal for first orders and seasonal launches) and sea freight (slower, far cheaper per unit, mandatory for large bulk orders). Most Sialkot factories work with Karachi port for sea freight shipments and Allama Iqbal International Airport for air freight.
Request a packing list and commercial invoice template from your factory early — these documents must be accurate for smooth customs clearance in your destination country.
Final Thoughts: Starting Small, Scaling Fast
The most successful private label fight gear brands start with a focused SKU range — typically 3–5 products — and expand based on sales data. Don't try to launch 30 products simultaneously. Master your hero products first: nail the boxing glove, the gi, or the MMA shorts. Build brand equity. Then expand methodically.
Partnering with the right OEM factory is the single most important decision you'll make. Look for factories with at least 10 years of export experience, verifiable customer references, transparent MOQ policies, and in-house pattern making and sampling capabilities. Deer Fight Gear ticks every box — reach out to start your private label journey today.